One of our apartments opened up, and I learned more about indoor plumbing. My plumbing adventures over the last two weekends involved a solid brass waste & overflow drain for my bathtub in our third apartment. We had a plumber visit that apartment, and one of the screws on the overflow assembly snapped from rust and old age.
The weekend before the Fourth of July I decided to replace the overflow. Having found that it was a solid piece of metal, I considered sawing off the overflow and replacing it with PVC.
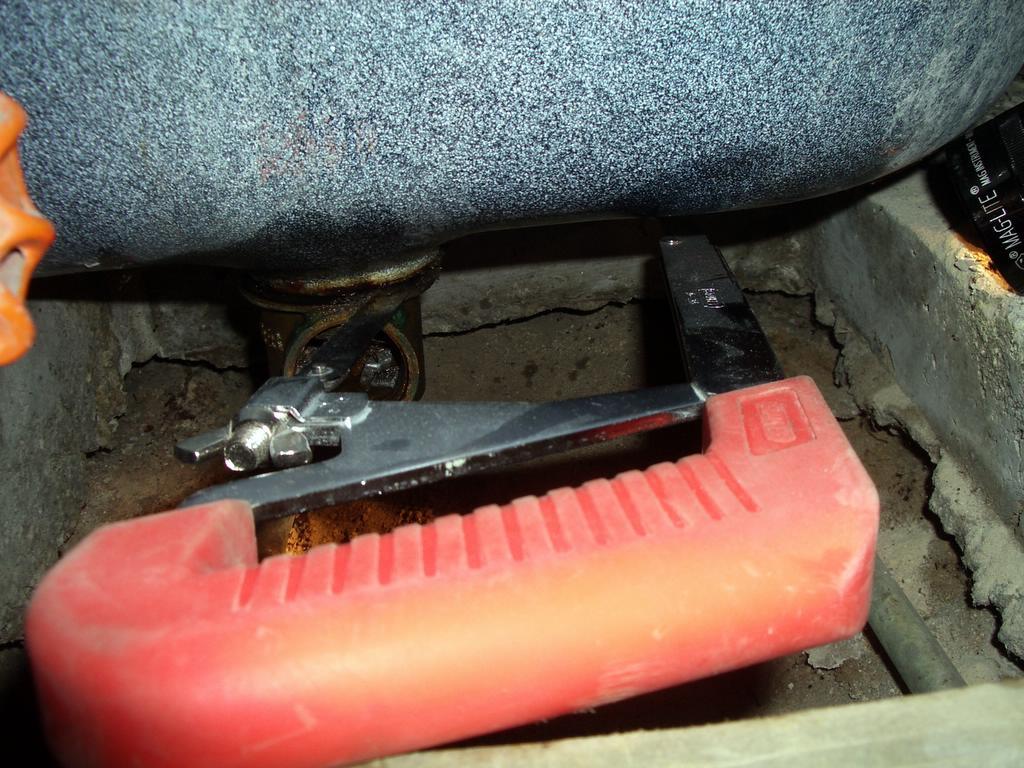
That's when I noticed that I could see light around the rim of the waste pipe.
Now, understand that the waste pipe is a single piece, a welded pipe and the waste elbow. Being able to see light through it means I don't have any single part to tighten or replace. I gave the overflow a good shake and the entire waste pipe dislodged from the waste elbow. It was now all or nothing.
I looked at the space available to me and decided to call a plumber. After calling a client of mine and getting a quote of $1350 (!!!) I felt a new motivation to tackle the project myself.
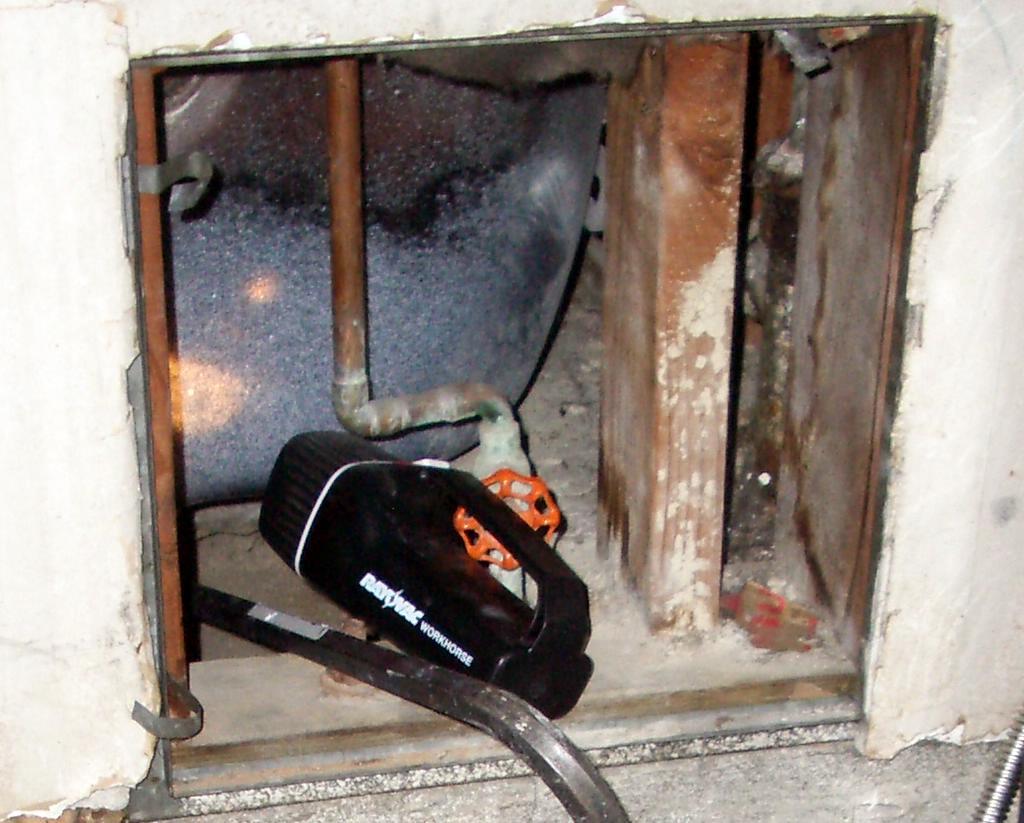
I needed more room, but I did not want to patch any walls or reconnect any copper pipes. So, I took my reciprocating saw and removed excess wood from the tub access. After working on the locknut holding the tail piece to the drain pipe in the foundation I was able to remove the entire unit.
The waste elbow was stll attached. I used a dumbell wrench to attempt my removal of the waste elbow. The elbow was frozen solid, and the teeth on the dumbell wrench actually snapped! After involking my lifetime warranty, I replaced the dumbell wrench and took a hacksaw to the waste elbow.
After forty minutes of sawing, I was able to pry the waste elbow off.
I assemebled a PVC kit and cut the pieces to match. To connect the tailpiece to the drain pipe, I used a convertor piece to connect the PVC sanitary tee on one side and femail threaded pipe connector on the other side. I was able to thread the connector onto the drain pipe, then position the rest of the drain kit.
By the grace of God, it was a perfect fit.
It doesn't sound too involved when I explain it in so many words, but this was three trips to the home improvement store and about three hours of work. It cost me roughly $40 in parts. I would have likely agreed to $400 if the plumber had been more reasonable... So I suppose I saved $900 doing it myself. Yipee!
No comments:
Post a Comment